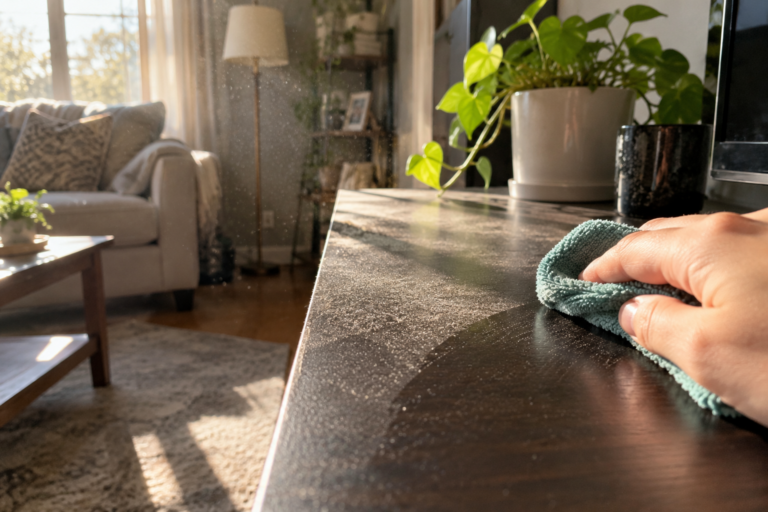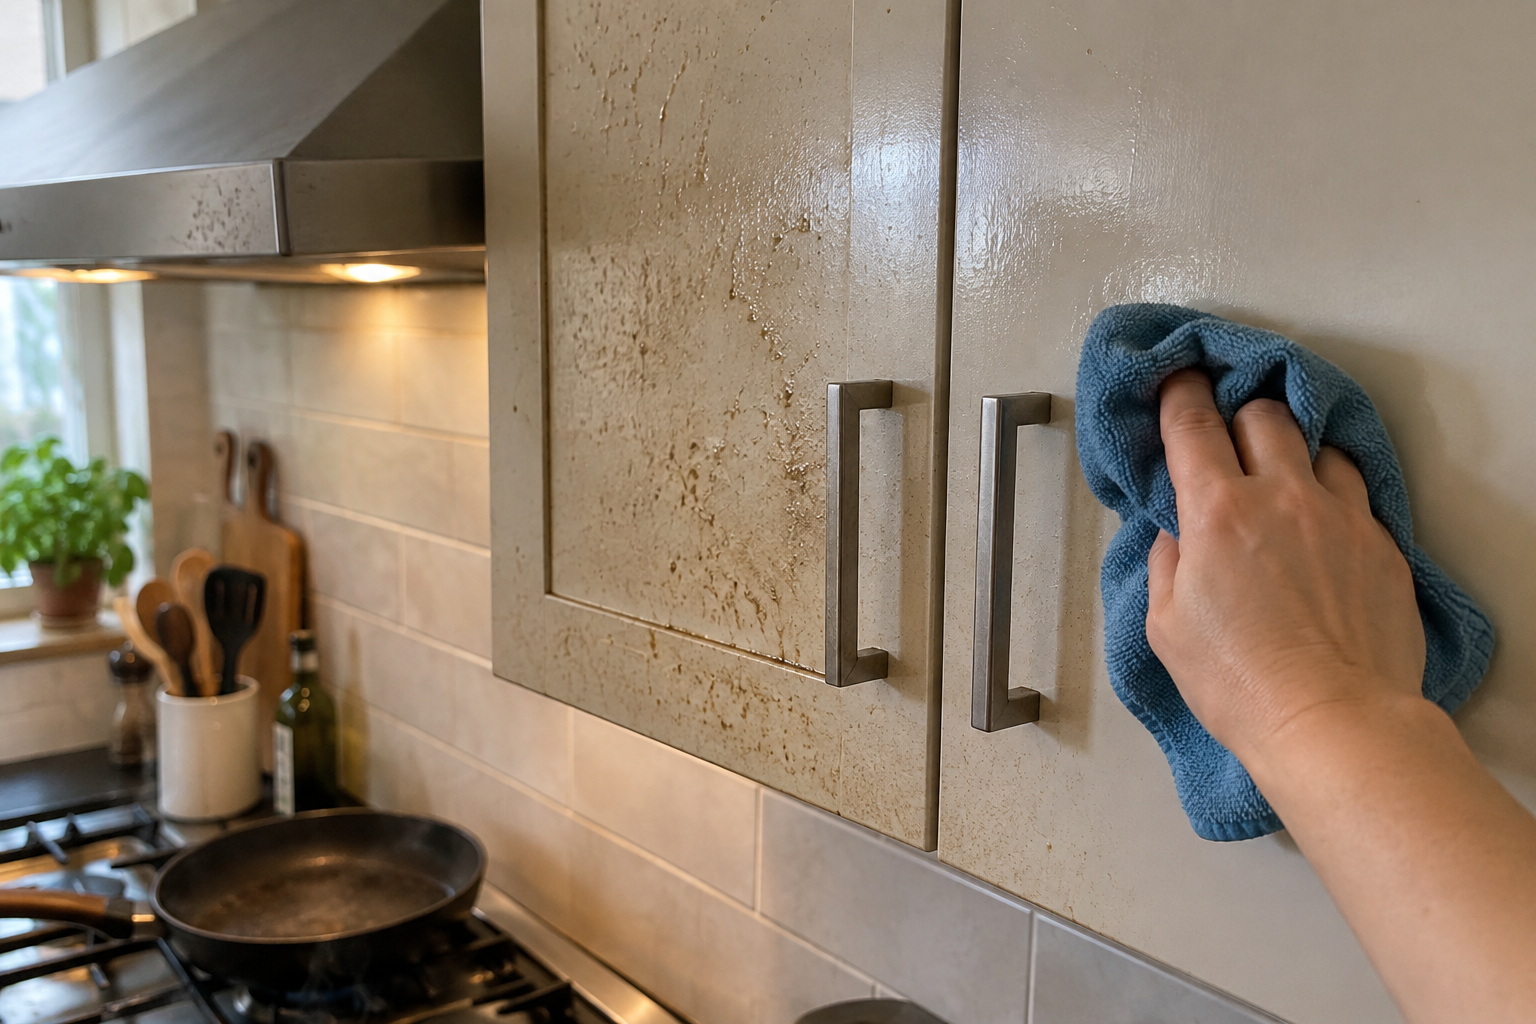
You wipe the counters, clean the stovetop, and take out the trash, but the kitchen still doesn’t quite feel clean. Then you run a hand over a cabinet door and find that familiar slightly sticky film.
Greasy kitchen cabinets are incredibly common, especially around the stove. The frustrating part is that the buildup rarely looks dramatic. It develops slowly from cooking vapors, dust, fingerprints, and products that leave residue behind. Eventually, a quick wipe with a damp cloth just seems to move the grime around.
Here’s what is actually causing that greasy feeling, how to clean it without damaging the finish, and a few habits that make a surprisingly big difference.
1. Cooking grease travels farther than you think
You don’t need to deep-fry food every night to coat cabinets in grease. Sautéing, frying bacon, browning meat, and even cooking oily sauces can release tiny droplets into the air. They settle on nearby surfaces, including cabinet doors, handles, backsplash edges, and the tops of upper cabinets.
The cabinets directly beside and above the stove usually get dirty first, but grease can travel several feet. If one side of your kitchen always seems stickier than the other, cooking vapor is probably the reason.
2. Dust sticks to the invisible grease layer
Fresh cooking residue can be almost invisible. The problem gets worse when ordinary household dust lands on it. Instead of wiping away easily, the dust becomes trapped in the oily film and creates a dull, tacky layer.
This is why cabinets can look reasonably clean while feeling grimy. It also explains why the top edges of cabinet doors and upper cabinets can become surprisingly dirty even though nobody touches them.
3. Your range hood may not be doing enough
A range hood is supposed to capture steam, smoke, and airborne grease before they spread through the kitchen. But it can’t work well if the filter is clogged.
If you cook frequently, check the grease filter regularly. A metal mesh filter coated in sticky brown residue is a pretty good sign that it needs cleaning. Follow the manufacturer’s instructions, since some filters can go in the dishwasher while others should be washed by hand.
Also, turn the hood on before you start frying or sautéing rather than waiting until the kitchen already looks smoky.
4. Too much cleaning product can make cabinets sticky
This one is easy to miss. More cleaner does not necessarily mean cleaner cabinets.
If a concentrated product isn’t diluted correctly, or if too much spray is used, it can leave a thin residue. Dust and grease then cling to that residue, making the doors feel sticky again surprisingly quickly.
When possible, spray cleaner onto a microfiber cloth rather than soaking the cabinet itself. Use only enough product to loosen the grime, then wipe again with a clean, slightly damp cloth if the product instructions allow it.
5. Handles collect more than fingerprints
Cabinet pulls and the area immediately around them get touched while you’re cooking. That means traces of oil, butter, dough, sauces, hand cream, and whatever else is on your hands can accumulate there.
If you only wipe the flat center of the door, you may leave the dirtiest area untouched. Pay extra attention to handles, knobs, recessed edges, and the small strip along the bottom of upper cabinet doors.
6. Steam helps grime spread
Steam from boiling pasta, simmering soups, kettles, and dishwashers adds moisture to the kitchen air. On its own, steam isn’t grease, but moisture can help airborne residue settle onto surfaces.
Good ventilation matters. Use the range hood when cooking and open a window when practical. If your kitchen tends to stay humid long after cooking, improving airflow can reduce more than just cabinet grime.
7. The tops of cabinets may be the hidden source
If your upper cabinets don’t reach the ceiling, take a look on top. It’s one of those places that can go untouched for months because you can’t see it from the floor.
Cooking grease and dust combine there into a stubborn layer. When you eventually clean it, start gently rather than aggressively scrubbing a dry, sticky surface. Loosening the residue first makes the job much easier.
8. You may be using the wrong method for the finish
Painted wood, laminate, veneer, thermofoil, and unfinished wood do not all tolerate the same products. Strong degreasers, abrasive pads, excessive water, or harsh solvents can dull a finish, soften paint, or damage edges.
Before using a new cleaner, check the cabinet manufacturer’s care instructions if you have them. Test the product on a small hidden spot first. When in doubt, begin with the gentlest method and increase cleaning strength only if necessary.
The easiest way to clean greasy kitchen cabinets
For many washable cabinet finishes, you don’t need an elaborate collection of products. Start with warm water and a small amount of mild dish soap, which is designed to cut food grease.
Mix a little dish soap into warm water. Dampen a soft microfiber cloth and wring it out well; the cloth should be damp, not dripping. Work on one small section at a time, paying extra attention to handles and the cabinets nearest the stove.
For stubborn buildup, hold the damp cloth against the spot briefly to soften it rather than immediately scrubbing harder. Then wipe with a separate clean damp cloth to remove soapy residue and dry the surface with a soft towel.
Avoid saturating seams, hinges, raw wood edges, or areas where water could seep under laminate or veneer.
What about vinegar and baking soda?
They appear in countless DIY cleaning tips, but they aren’t automatically the best choice for every cabinet.
Vinegar is acidic and may not be suitable for certain finishes or natural stone surfaces nearby. Baking soda is mildly abrasive and can leave fine scratches on some glossy or delicate finishes. And mixing vinegar with baking soda mostly creates a fizzy acid-base reaction rather than a magically stronger degreaser.
If you want to try a homemade solution, make sure it is compatible with your specific cabinet material. Mild dish soap and water is often a safer first step.
A realistic 10-minute cabinet routine
You do not need to wash every cabinet every week. Instead, focus on the areas where grease actually builds up.
After a messy cooking session, wipe the two or three doors closest to the stove. Once a week, clean handles and the areas around them. Every few weeks, check the tops and bottom edges of cabinet doors. Clean the range hood filter as often as its manufacturer recommends.
This takes much less effort than waiting until every cabinet has developed a thick sticky film.
One thing not to do
Don’t mix household cleaners unless the label specifically says it is safe. In particular, never mix bleach with ammonia or acidic cleaners such as vinegar, because dangerous gases can be produced.
Cleaning products also work better when you follow their label directions instead of combining several products in the hope of making them stronger.
The bottom line
If your kitchen cabinets constantly feel greasy, the problem probably isn’t that you’re bad at cleaning. Kitchens naturally produce airborne grease, moisture, dust, and fingerprints, and cabinet doors quietly collect all of it.
The biggest improvement usually comes from tackling the source: use ventilation while cooking, keep the range hood filter clean, wipe the cabinets closest to the stove before residue hardens, and avoid leaving excess cleaner behind.
Once the old film is gone, maintaining the cabinets becomes a much smaller job—and the whole kitchen tends to feel cleaner even when you haven’t done a full deep clean.